Good outdoor oven insulation requires a continuous layout according to the design. A thick layer on the dome will not fix a missed section at the base or entrance. During construction, it is easier to spot such areas before they are covered by the decorative casing.
Inspect the cross-section from the bottom to the chimney
Mark the insulation under the chamber, around it, and at the ends. For each joint, determine how the layers meet and what holds them in place. Metal parts and areas with changing geometry require special attention.
Do not assess effectiveness solely from the maximum product temperature. Heat flow depends on the material properties during operation, thickness, connections, and method of use. If you change an element of a finished solution, the impact on the entire cross-section must be checked again.
Each format fits a different location
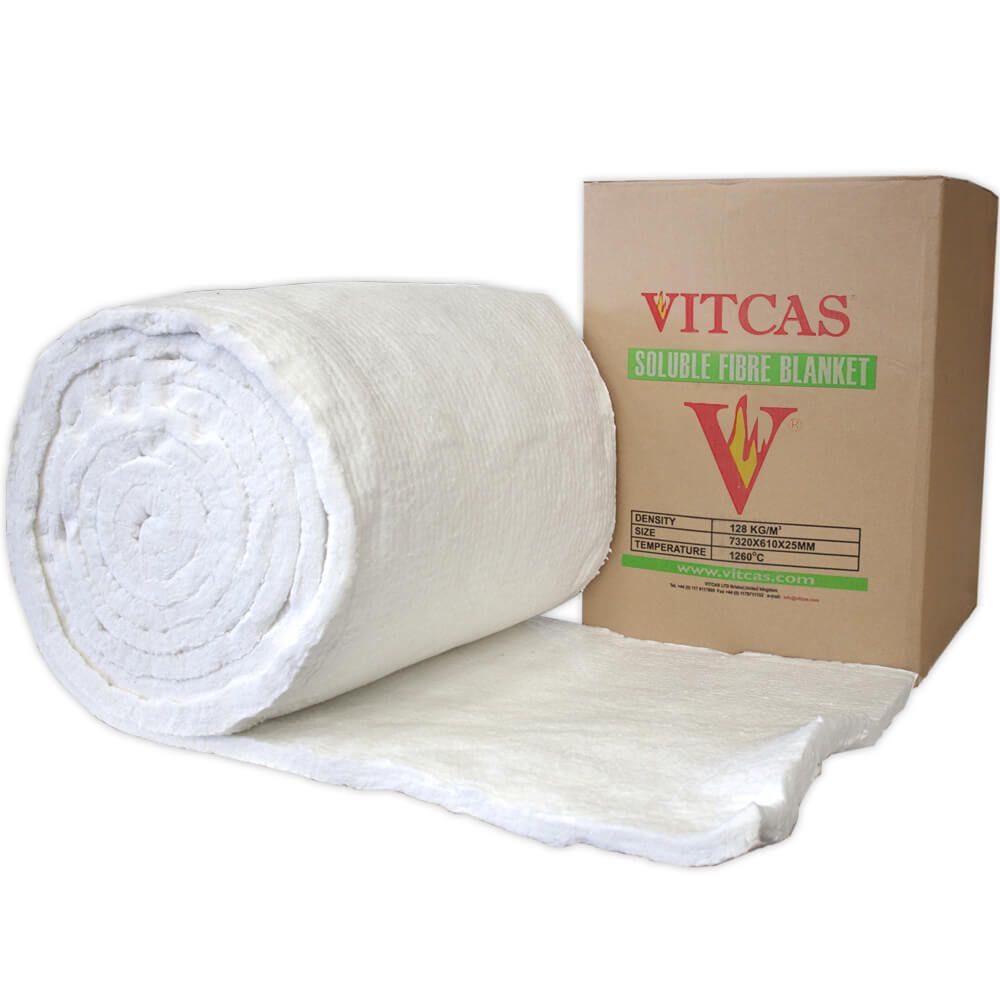
Ceramic fibre board Vitcas creates a rigid layer in appropriate configurations, including under a compatible oven chamber. ceramic fibre blanket allows insulation to fit a curved surface. Both require suitable support or retention.
Loose vermiculite is used for designated enclosed spaces. It does not replace a self-supported mat on an exposed dome. The choice of format should result from the location and function, not from the packaging that happened to be left from another job.
Check the protective enclosure before completing construction
Inspect the edge of the base, the entrance perimeter, and the connection to the chimney. Look for open ends, accidental compression of insulation, and areas where water can reach. The outer layer should protect the material without altering the established arrangement.
Take photos of each stage and record the thicknesses used. During later checks for overheating of the casing, they will be more useful than just the product description. Do not assume that a cold outer surface is automatically the result of using a material with high thermal resistance.